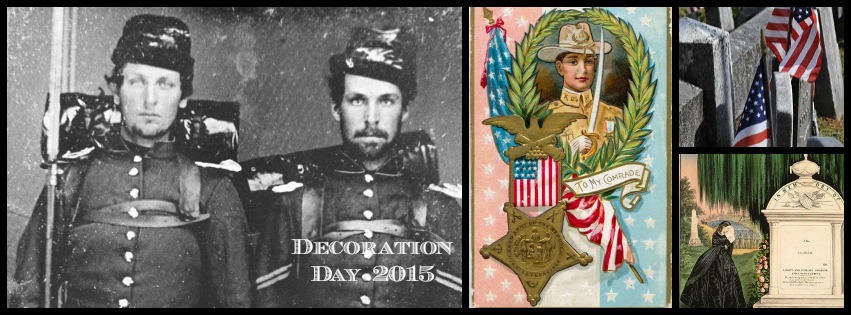
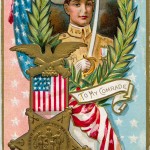
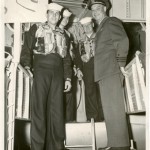
Do you have Civil War soldier ancestors in your family tree? Or veterans from any branch of military service? You don’t need heirloom photographs or Photoshop to make an easy tribute to your family veterans. With a few photos and an online photo editor like PicMonkey, you can easily create a custom Facebook cover collage to celebrate Memorial Day or any special occasion. My Facebook cover collage recalls the origins of Memorial Day in “Decoration Day,” a time to “decorate” the graves of fallen Civil War soldiers.
Choose Your Images
You’ll need three to six digital images for your collage. I like to use an odd number, usually three or five. A mix of horizontal and vertical works well; you’ll be able to move the image and crop out any areas you don’t want to use.
Select images and place them in a folder on your desktop for easy access. If you don’t have enough photos in your own collection, try searching public domain images in the Library of Congress Photo Collection, Wikimedia Commons, or The Commons on Flickr.
Create a Photo Collage With PicMonkey
PicMonkey online photo editor is one of my favorite photo tools. I discovered PicMonkey while looking for a free and easy photo editor to tweak images for the family history photo projects in my new book, and now it’s my first choice for simple tasks like adding text or creating a simple collage.
I’ve found it easiest to select my photos first, then open PicMonkey for editing. Here are the basic steps I used to make a Memorial Day custom cover for my Facebook Timeline.
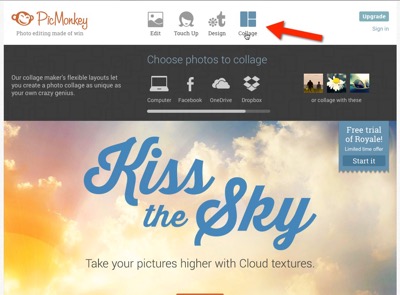
STEP 1: Go to Picmonkey.com and select the Collage option.
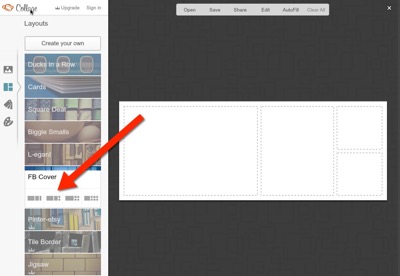
STEP 2: Choose the Facebook Collage and the template you’d like to use.
STEP 3: Select and import your photos. Drag and drop the photos into the template. Grab the edge of the photo placeholders on the dotted line and drag to change the photo size. Click the “X” to delete unwanted photo placeholders.
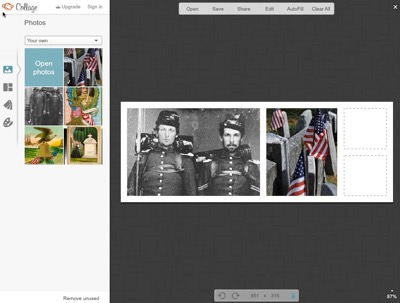
Go to the Background tab (the icon looks like an artist’s palatte) to change the background color and adjust the width of the photo borders.
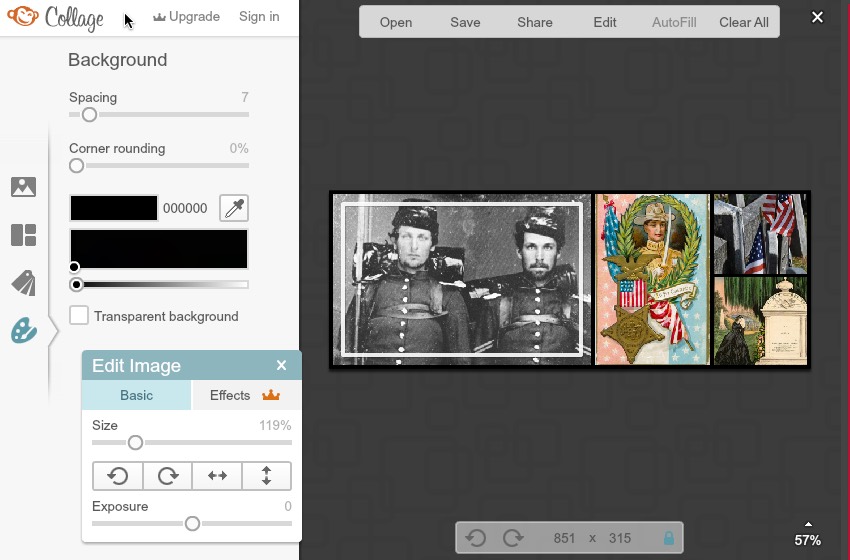
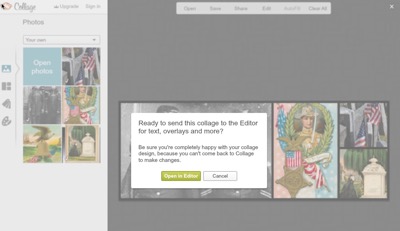
When you’re happy with the photo placement, click the EDIT button at the top of the PicMonkey Window. You’ll get a warning screen that your image will sent to the Editor and photos can no longer be adjusted. That’s okay.
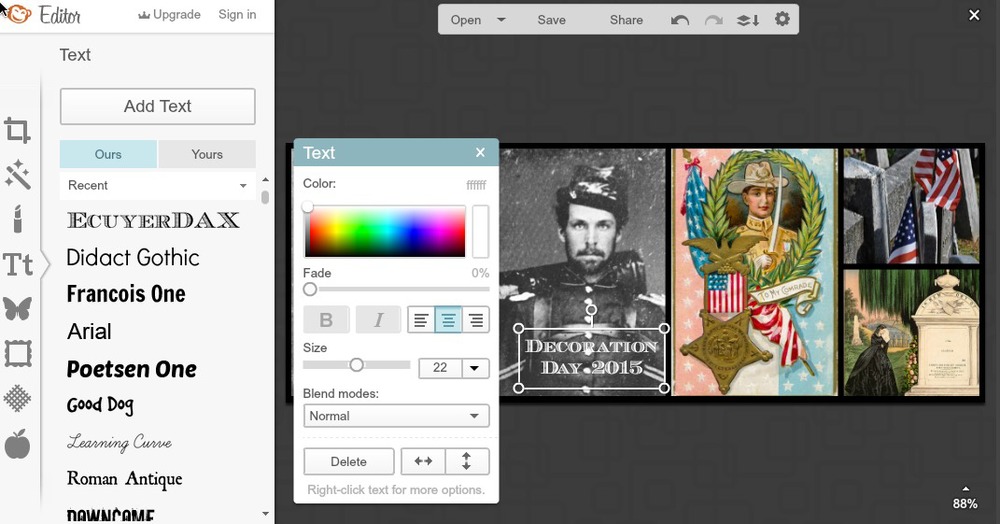
STEP 4: In the Editor, click on the Text tab and add your text. Select the font, size, color, and adjust placement.
STEP 5: In this last step, you can SAVE your creation to your hard drive and upload it yourself to Facebook, or you can SHARE from PicMonkey directly to Facebook (Twitter, Pinterest or other locations). Make your selection by clicking on the SAVE or SHARE button at the top of the window.
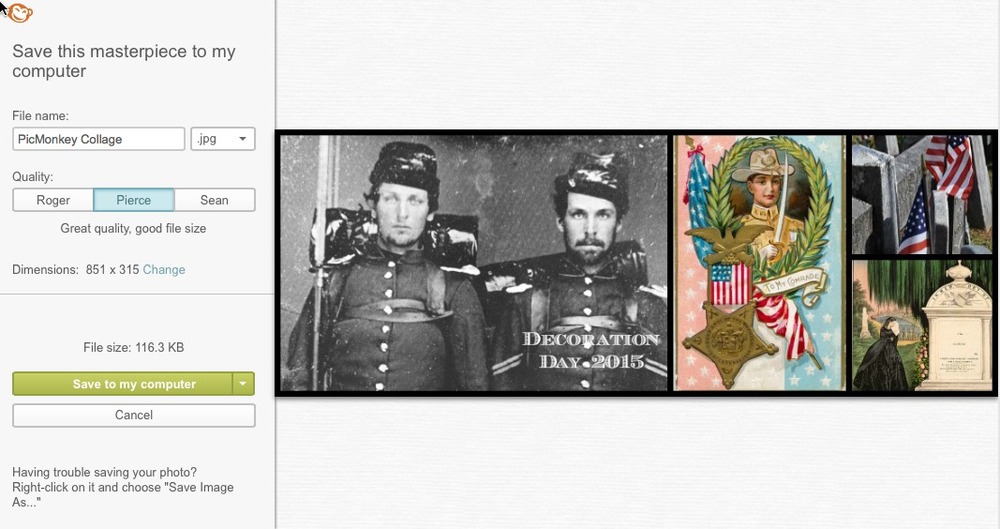
I saved my collage as “Pierce,” the middle quality option to my hard drive, and then uploaded it to Facebook. If you want to save an editable copy of your creation, you’ll need to register for a PicMonkey account.
Enjoy! You’ll find more easy project ideas for sharing your family history in my new book How to Archive Family Photos, now available from Amazon.com. Step-by-step instructions with dozens of photos and screenshots guide you how to make 25 Easy Keepsake Projects, including photo calendars, books, collages, fabric, and home decor.
Read more about Decoration Day and Memorial Day:



Denise, I have been wondering how to do this for the longest time. I just never had a block of time to sit and figure it out. Now, I have spent the morning creating them, and am SO happy with the results!!! Thank you for showing me how easy it really is.
Thanks, Jana! Agreed that PicMonkey is almost too much fun. I love the collage options and am glad they have added Facebook.
Denise,
Thanks for this tutorial! PicMonkey really is awesome!
I want to let you know that your blog post is listed in today's Fab Finds post at http://janasgenealogyandfamilyhistory.blogspot.com/2015/05/follow-friday-fab-finds-for-may-22-2015.html
Have a great weekend!