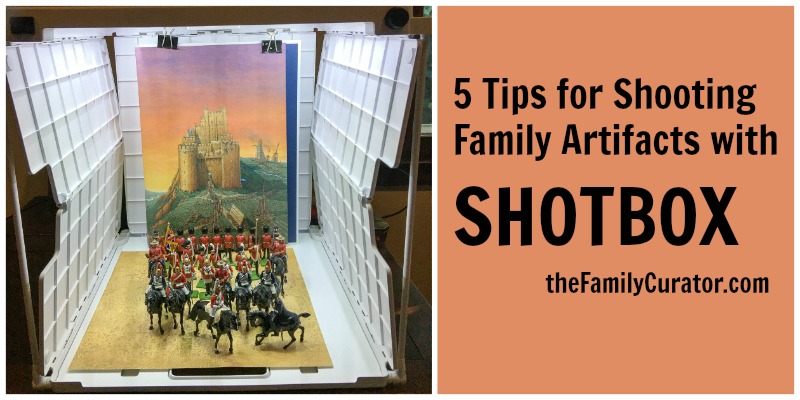
 When I need a quick photo for a blog post or a high-quality digital image of a favorite heirloom, the SHOTBOX tabletop photo studio is my go-to setup. In fact, after bringing home the SHOTBOX from RootsTech last winter, I packed up my tripod and off-camera lights and haven’t found a reason to dig them out yet. Read my full review here.
It’s easy to use the SHOTBOX to photograph flat objects like documents or photos, but three-dimensional objects can be challenging. In the past few months I’ve shot everything from teacups to tin soldiers, and from bound books to bullets, and I’ve learned a few tricks to help me get the best possible digital image of my family heirlooms and genealogy artifacts. Here are my favorites:
5 Tips for Shooting Family Artifacts with SHOTBOX
1. Light it Right
The SHOTBOX offers three LED light strips calibrated to properly illuminate an object inside the box. The interior of the white plastic box is designed to help reflect the light. When shooting straight down, use the black or white side of the bottom base. When shooting from the front using the Sideshot accessory, use a seamless background.
White reflects light, while black absorbs light. The backdrop and lighting set the tone for your image. When photographing an artifact to record detail and condition, make sure the item is well-lit and in sharp focus. Use the lighting dials to adjust the brightness of the top light strips.
 2. Choose the Best Backdrop
By selecting the right backdrop for your artifact the interior light will appear brighter or softer. For example, use the black backdrop to shoot this porcelain doll dressed in white to provide contrast. The dress is actually yellowed with age, and the color shows up correctly against the black background. Against white, the dress appears dingy and hard to see.
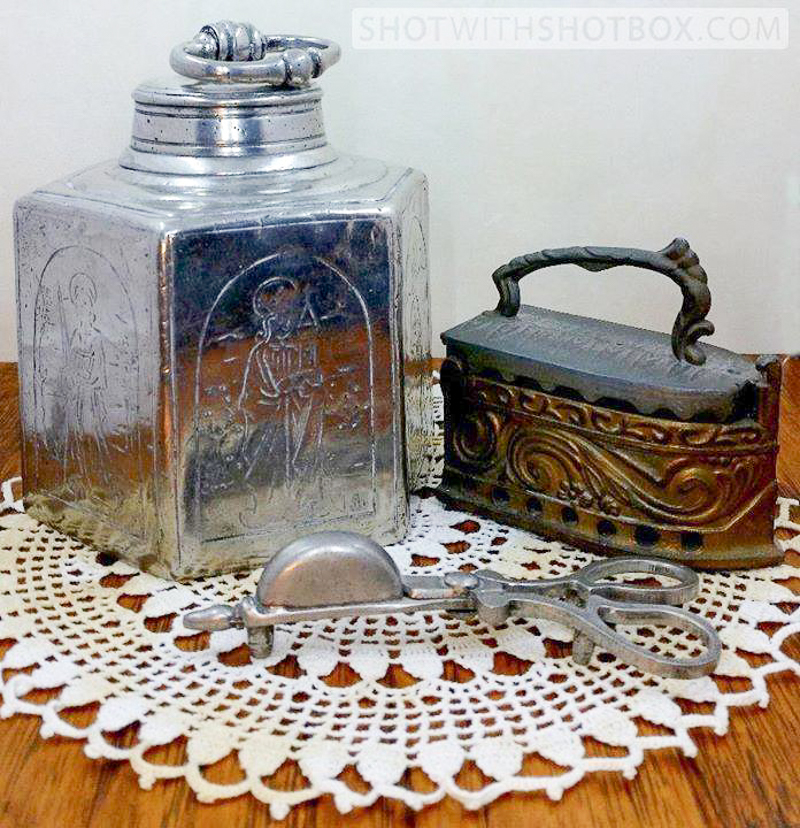
I have achieved the best results using the white backdrop for dark objects like framed photos and the black backdrop for silver, jewelry, china, dolls and small books. Standard-size scrapbook paper fits inside the SHOTBOX to add a decorative background. Or, try a piece of wood, tile, or fabric for a different look.
3. Forget the Glass
Framed photographs can present a problem with glare when the camera is pointed directly at the glass and frame. If possible, take the frame apart, remove the glass, replace the photo in the frame and then shoot the picture. Try positioning the framed photo upright as if it were standing on a shelf, and place your camera in front for the shot.
4. Minimize Glare with Sidelights
Glossy photos or shiny ceramics might also have glare spots when photographed directly. Try moving your camera to one side by placing the sideshow in the left or right hand squares when shooting from the front; or by placing your camera slightly off-center from the top.
Adjust the lights using the dials on the left and right sides to turn on left-right-or both SHOTBOX lights, or activate the SIDESHOT light only with the top box lights off. The idea is to light the object indirectly, as if it were outdoors during the day with light from all sides. Another trick is to add light coming in through the top or side holes; I’ve experimented with a small portable desk light with good results.
 5. Get Creative with Greenscreening
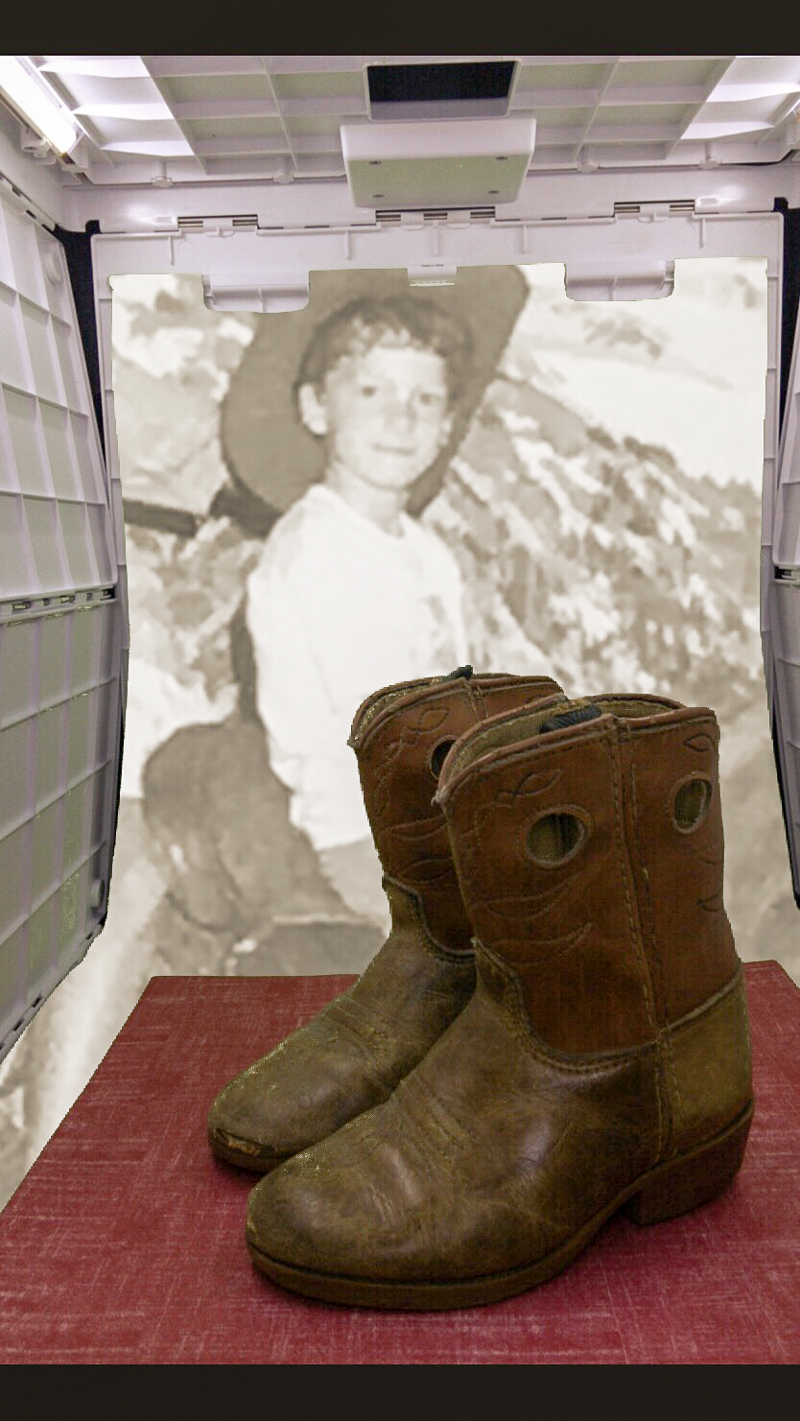
The green and blue backdrops work well for “green-screen” effects where you want to replace the backdrop with another image. You need a green screen app for your smartphone or computer and a photo for the background image. I had fun creating the image for this article, Greenscreen Your Favorite Family Photo with SHOTBOX.
To make a single image that showed my son’s child-size cowboy boots with his photo in full get-up, I set up the green backdrop and added a piece of red print scrapbook paper as the “floor.” Without this base, the boots appeared to float on the photo.


[…] 5 Tips for Shooting Family Artifacts with SHOTBOX by Denis Levenick at The Family Curator […]