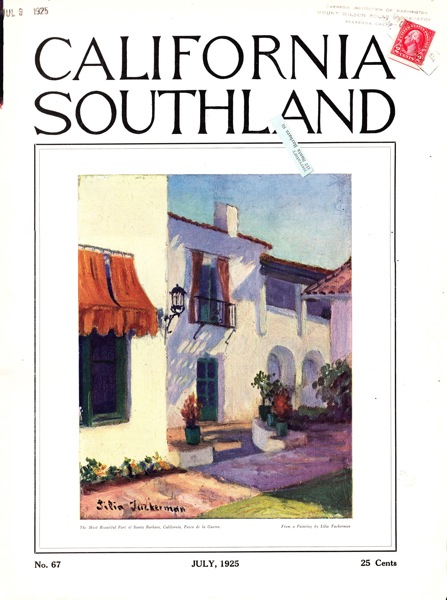
On a recent research trip I found a large early California magazine I wanted to duplicate for further study. I could have photographed the page, but I also wanted to try out a new-to-me portable scanner, the Canon CanoScan LiDE210 Scanner.
These little scanners have been around for awhile, and have become popular for onsite research because they deliver the quality of a flat-bed scanner and are powered by a single USB cable to a laptop. The low profile and 8 1/2 x 12 scanning surface make it a good choice for scanning oversize documents in fewer images.
The scanner hardware is easy to use, but the software is clumsy and overly-complicated. I had trouble trying to figure out how to set file formats and file-saving locations, and finally just used the AutoScan setting hoping I could get the images I need. It took me a while to realize that it comes with two completely different scanning options
— one operated through the Canon Solution Menu and another through the ScanGear Driver. The scans are accessed through the MP Navigator EX, where you can rotate, adjust, and edit the images.
When I looked at the digital images later, I realized that some of the oversized pages were digitized in mixed file formats, some PDF and others as JPG images, and the JPG cover images were made in different directions, one horizontal and one vertical.
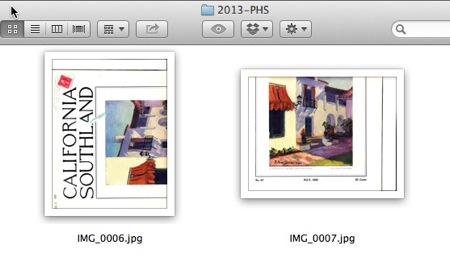
Fortunately, Adobe Photoshop Elements 12 can easily reassemble scanned images, as well as regular digital photos. I use the Photomerge feature for all kinds of projects, and think it’s one of PS Elements best tools.
Photomerge is accessed through the main File Menu, and offers more than simple stitching for oversize images. The feature can actually perform several different tricks; most are designed for digital photographs, but will work well on scanned images too.
Photomerge Group Shot can be used to create a group photo with the “best of” from several different images. So, if someone’s eyes are closed in one photo and a different person is yawning in another picture, the two photos can be combined to have one good group shot. Think of the possibilities! No more rabbit ears!
Photomerge Faces does something similar with to combine portraits and make one great image. The idea is that you can select what features you like in each portrait — hair, eyes, mouth, etc. — and combine them into one “better” portrait.
Photomerge Scene Cleaner removes people or things from your photo by replacing the annoying tourist with scenery from a similar image.
The mode I use most often is the Photomerge Panorama. Photoshop Elements offers several different styles of panorama, but I’ve had good results relying on the Automatic method. Access the Photomerge feature through the File Menu:
File > New > Photomerge Panorama
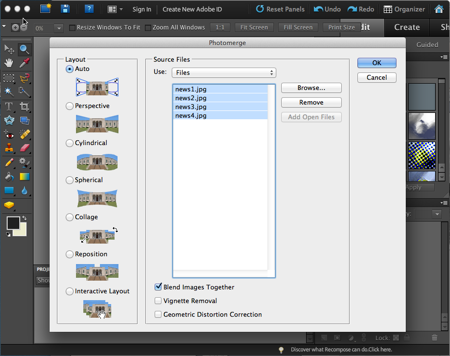
I selected Auto and browsed for the files I wanted to stitch together. After selecting the files, I clicked OK and Elements stitched everything together as I watched the software open the files and reassemble the multiple images to the full-page magazine cover like Magic!





can Photoshop Elements 8.0.exe stitch scans ?
Hi Frank – Yes, according to this press release, Adobe PS Elements 8 offers Photomerge
Unfortunately some of my favorite new features like Guided Edits for Photo Restoration are not as full-featured in the earlier versions, but Photomerge does seem to be available in PSE8.
Thank you so much for sharing this post.i think this is very helpful for me.i am also looking this about one month.