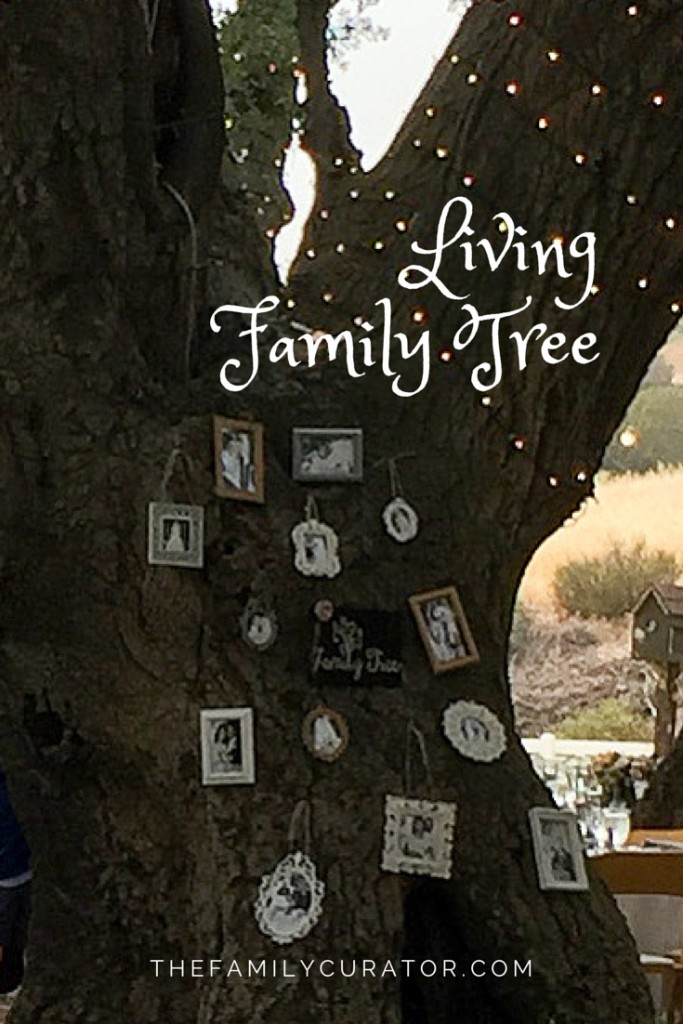
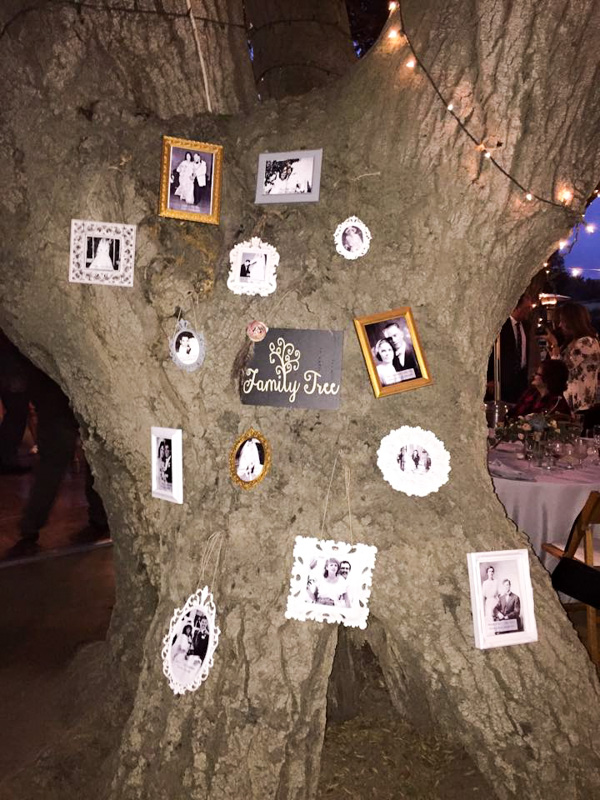
Welcome the in-laws (and out-laws) at your next family gathering with a tribute to generations past and present in a Living Family Tree. This collection of wedding photos at my niece’s recent wedding welcomed guests to her Southern California vineyard reception, but you could bring the idea to an inside staircase or under a covered porch or patio by displaying photos on bannisters or porch columns.
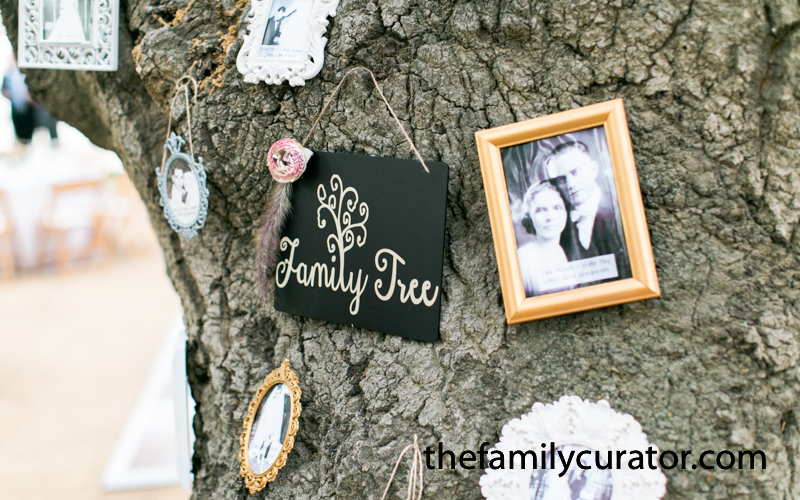
To create the framed photo collage of vintage family wedding portraits, my sister Deanna collected photographs from both sides of the family. The effect is “vintage modern” with the white, silver, and gold frames displayed in contrast against the textured bark of the tree.
For a Thanksgiving gathering, you could use all kinds of family photos — of individuals, couples, family pets, or favorite dishes from past get-togethers.
As the chief beta-tester for the 25 Keepsake Photo Projects featured in my new book How to Archive Family Photos, Deanna used the book’s scanning recommendations and techniques to get the best possible images and printed copies on her home inkjet printer. Follow her tips and suggestions to create your own heirloom family tree:
How to Make a Living Family Tree

 SELECTING PHOTOS & FRAMES
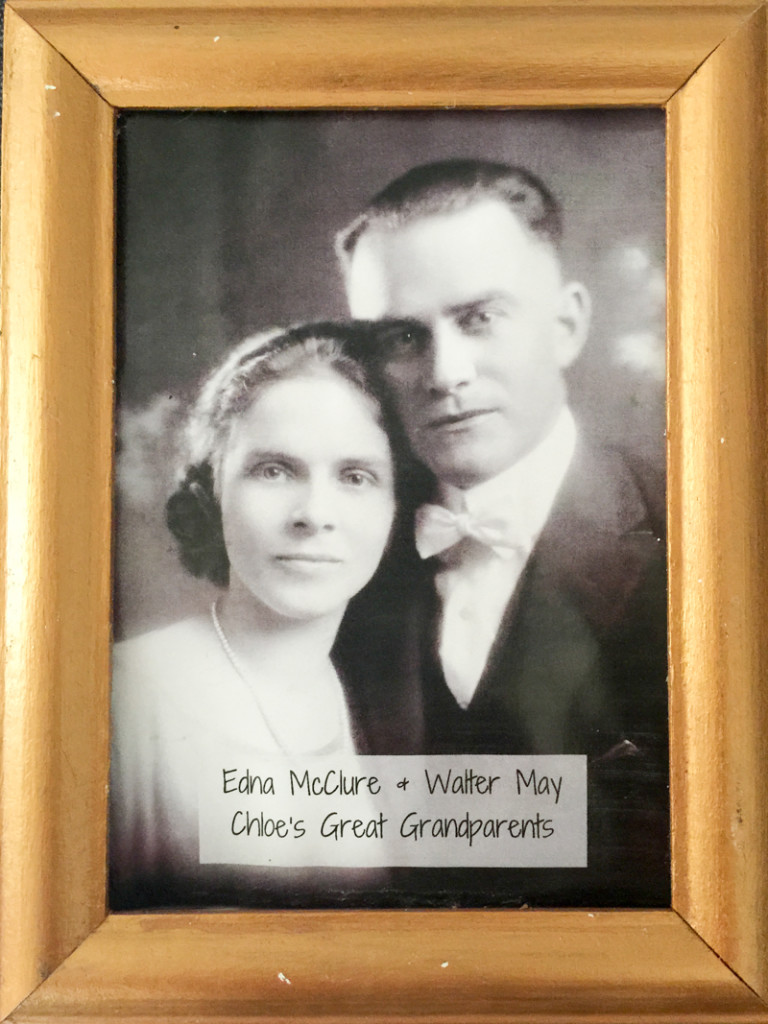
Try to locate a variety of wedding poses. We found formal portraits, cake cutting, and beautiful brides to show off on our tree, and included parents, grandparents, and aunts and uncles. It would be fun to add brothers and sisters if you have younger newlyweds.
I ordered a selection of small inexpensive plastic and wooden frames online from Etsy and other sellers. Frame sizes ranged from an opening 3-inches square to 5 x 7-inches. To minimize weight, remove glass from the frames and use lightweight cardstock as the photo backing.
SCANNING
Scan the photos in full color so you have a preservation copy of the original (I learned this tip from Denise’s book). I used the recommended scanner settings of 600 dpi at the original size, but some images were already scanned at a lower resolution. Fortunately, most of the original photos were larger than my planned project photos so the resolution was fine for reduced size prints.
EDITING
I uploaded each photo to PicMonkey (a very cool free online editor I learned to use for projects in the book) and converted the photos to black and white. My biggest challenge was adding the names and wedding dates for each couple. I discovered that text didn’t show up very well against the photo. Then I tried a technique from one of the book’s projects — adding a PicMonkey badge shape as a background for the text. I used a simple rectangle with a partially transparent background in black or white as needed to contrast with the photo. The edited photos were downloaded from PicMonkey at the best resolution for printing on my home inkjet printer.
 PRINTING
Decide which frame to use for each photo and print the pictures close to the size you need. I inserted the photos to a Word document and then adjust to the photo for size before printing to glossy photo paper. It took a little trial and error to get it just right.
ASSEMBLING THE TREE
Use a glue stick to lightly fix each photo to the cardstock frame backing. Trim to fit the frame and use glue if needed to secure the photo inside the frame. We added a bit of jute to some frames for interest. Use long florist’s pins to attach the frames to the bark of the tree (just be sure to remove everything at the end of the event).
P.S. – Deanna made the “Family Tree” sign with a craft chalkboard background and adhesive lettering custom cut with the Silhouette Cameo Digital Cutter she uses for paper crafting and scrapbooking.
The Flip-Pal Mobile Scanner makes it easy to scan large photos with its unique Flip and Scan feature and included stitching software. Take care to overlap your scans by 1/2 to one inch and move the scanner in the same direction (horizontal or vertical).
You’ll find 25 more Keepsake Photo Projects in How to Archive Family Photos with instructions for using PicMonkey free online photo editor, scanning guidelines for digitizing your own heirloom photos, and suggestions for naming and organizing your digital image files.
Thank you for supporting The Family Curator by shopping with the affiliate links on this website. See Disclosures for more information.


Very cool idea, and great instruction on how to actually pull it off.
Thanks.
Thanks, Patricia! My sister did a great job on this one.