How to Scan Your Family Photos in 3 Easy Steps
 Is your scanning project stuck at the starting gate somewhere between shoebox and scanner? Is your workflow complicated, convoluted, and just plain confusing? Try these three steps to help reboot your digitizing project and preserve your family photos, documents, and heirlooms.
1. Ready
Your scanning set-up doesn’t need to be complicated, but it will be easier if you take a few steps to prepare the work area:
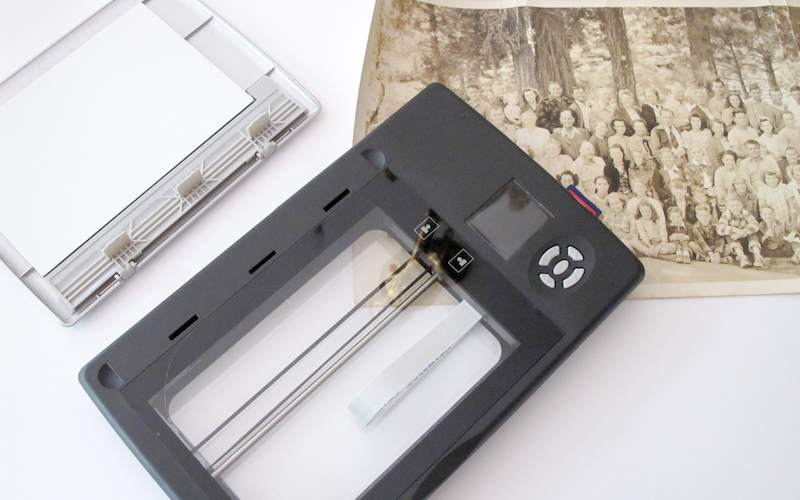
A. Place your flatbed scanner close to your computer, either on the desk or on a small sturdy side table.
B. Organize your workflow. I like to use two shallow trays or box lids to hold items before and after scanning. One is labeled “To Scan,” the other is labeled “Scanned.” If have to stop mid-project, it’s easy to pick up my work again when I return.
C. Clean the scanner glass by wiping with a dry microfiber cloth before starting a new project and often throughout the scanning session.
Check out The Family Curator’s Shop for scanner recommendations.
2. Set
A. Archivists recommend wearing white cotton or nitrile gloves to protect items from fingerprints and oils. If gloves feel too clumsy, wash your hands with soap and warm water and handle the items only by the edges.
B. Organize items by size or type such as color snapshots, cabinet cards, etc. This helps speed up your workflow because you can use the same settings for several items.
C. Dust the photos or documents by gently brushing off any surface dirt with a soft photographer’s brush.
3. Scan
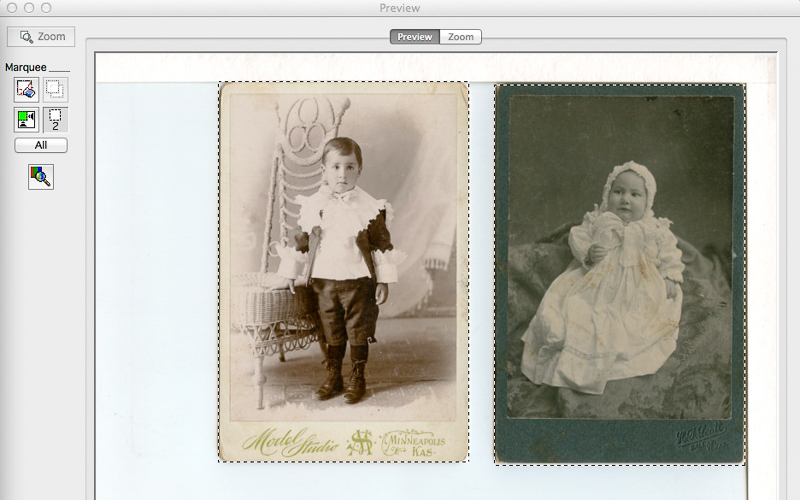
A. Place the item on the scanner bed and Preview the scan.
B. Set your scanner for the desired file format, resolution, and compression. I use the archival TIFF format set at No Compression for all my photos and heirloom documents. My typical resolution is 600 dpi for photographs 3 x 5-inches or larger, and 300 dpi for documents.
C. Save the file with a simple filename. I use the file naming system that fits my purpose for the files, most often the Four-Part Filename described in the post “Do You Need More Than One Filename Scheme?” Backup new files to Cloud storage or an external hard drive.
Keep your scanning workflow as simple as possible so that it becomes routine. Read more about why TIFF is the preferred archival file format, and how to digitize all kinds of photographs, oversize documents, curled and rolled photos, and more in my book How to Archive Family Photos: A Step-by-Step Guide to Organize and Share Your Photos Digitally, (FamilyTree Books, 2015) available from Amazon.
Disclosure: This website is supported by proceeds from affiliate links. Thank you for supporting The Family Curator website by shopping with the affiliate links on this site.


your posts are always so helpful! thank you!
Thanks, Liz!