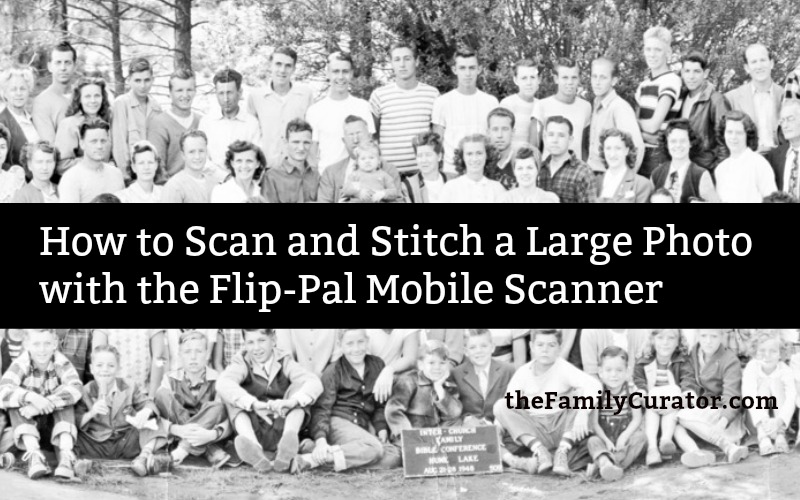
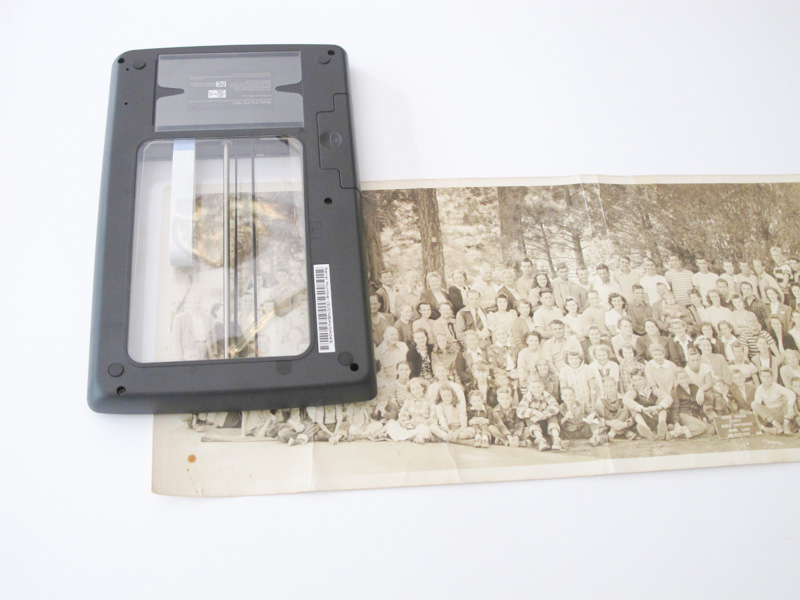
Oversize photos and long panorama pictures don’t easily fit on a flatbed scanner, but it’s not difficult or expensive to create a digital image for restoration, sharing, and preservation. A digital copy can also bring hidden detail into sharp focus and might even help solve a few family history mysteries.
What’s the best way to digitize a large photo or document?
A digital camera is a simple and fast way to digitize oversize photos, documents, and three dimensional artifacts, but a scanned image may result in a better enlarged reproduction print. Unfortunately, many oversize photos are too big for most home scanners.
One way to get around the limited size of a flatbed scanner is to use “stitching software” that reassembles individual scans into one digital image. Many photo editing programs offer this feature, including Adobe Photoshop and Photoshop Elements.
Creating the individual scans on a typical flatbed scanner may also require wrestling a large fragile item onto the bed of the scanner, supporting the edges, and crossing your fingers that the paper won’t tear or crumble. Every scan and each repositioning risks damaging your family keepsake. I know, I’ve tried it, and it was a nail-biting experience.
But, what if you could achieve the quality of a flat-bed scan using the speed and adapability of a digital camera?
The Flip-Pal Mobile Scanner from Flip-Pal.com simplifies the task of scanning oversize photos and documents. Other mobile scanners and smart phone apps tat can digitize just about anything, but the Flip-Pal was designed specifically to digitize oversize items and to function as a small traditional flat-bed scanner. This unique device and included software will scan large photos and then “stitch” together the multiple images to create a seamless digital copy of the original.
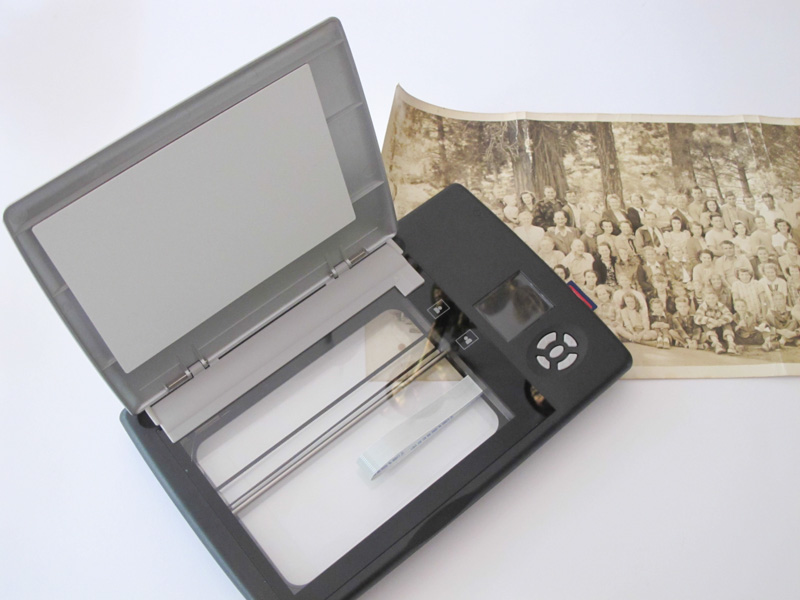
The unique see-through scanning bed of the Flip-Pal Mobile Scanner
I have other office scanners for documents and office paperwork, but the Flip-Pal is an easy option for digitizing heirloom oversize items like panorama prints and oversize photos, especially when away from home and office equipment.
I think the people who created the Flip-Pal must have the same photos in their collection that I do. This little device is perfectly suited to working with fragile items.
If the old photograph is hard to bring to the scanner, bring the scanner to the old photo.
Step-by-Step Instructions to Scan and Stitch a Large Photo with the Flip-Pal Mobile Scanner
You will Need:
Installed Flip-Pal Toolbox (PC / Mac software comes with the scanner)
Solid color poster board – white or black
Photograph
Step 1. Plan the Scanning Sequence
Place your photograph on the poster board to keep it clean and give the edges a sharp edge.
The Flip-Pal stitching software needs a little help from you to assemble the scans into one image. All you have to do is scan in an orderly fashion: from left to right, or right to left, or all around the edge. Just move consistently, not haphazardly.

Sample Scanning Sequence. Begin in the upper left hand corner and move
horizontally across the photo. Then, repeat across the bottom half of the photo.
For example, think about your photo in terms of individual images. It’s better to scan in sequence across the image than jump around from corner to corner and then to the middle.
I did a little experiment with scanning sequence, and the results showed that you will get a higher quality scan if the device doesn’t have to work too hard. Use the fewest number of images needed, AND scan in an orderly fashion.
Note: The Flip-Pal instructions note that scans requiring more than 16 images for stitching will be rendered at a lower resolution; my 18 image project came in at a 300 dpi image after scanning at the maximum 600 dpi resolution. Your results may vary.
Step 2: Set-Up the Flip-Pal Mobile Scanner
The Flip-Pal is Easy Easy to use. Slide the gray switch on the side to turn on the device. Make sure you have battery power and an SD card inserted.
Look at the little LCD window to check the resolution:
One Star is 300 dpi
Two Stars are 600 dpi
Set the resolution for 600 dpi — TWO STARS. To change from one to two stars, click the top arrow on the selection buttons to select the two gears at the top left of the LCD window and open the Settings Menu. You will have two choices:
DPI (resolution) — 300 One Star or 600 Two Stars
MIN − 1, 2, or 10 minutes auto-shut off
Use the selection buttons to highlight Two Stars/600 dpi and push the center button to SAVE your selection.
Remove the flip-up cover of the scanner. You are going to use the unique “flip” feature of this scanner. Carefully grasp both sides of the cover at the back and pull directly up. The cover should lift off.
Step 3: Scan the Images
1. Flip over the scanner so that the top glass screen is lying directly over the image. As you position the scan, include the borders and about a 1-inch overlap from one image to the next. My panorama print required 18 images. When the scanner is positioned correctly, push the green button on the side of the device to begin the scan. Do not move the scanner as it works.
2. When the scan is complete, move the Flip-Pal to the right and scan Image Two.
3. Continue to scan individual images moving left to right along the top half of the photo.
4. After completing the top half of the photo, scan individual images of the bottom portion of the photo moving left to right.
5. When you have scanned all images, turn off the Flip-Pal and remove the SD card.
Step 4: Stitch the Images
1. Return to your computer and insert the SD card.
2. Navigate to the card if necessary and open the Flip-Pal Toolbox.
3. Select Easy Stitch. You will be prompted to select the scans you would like to stitch together. You can select image files on the Flip-Pal SD card or Browse for images on your computer.
Flip-Pal SD Card –
All images will show in the window.
Select the images you would like to stitch together: Click Selection to Select ALL, or NONE.
You can also click individual images for stitching.
Browse –
Click Browse and navigate to the folder that holds the images you want to stitch together.
If the images are greyed out, select the folder and Open to select. Your images will be copied to the Easy Stitch window.
In a few seconds the selected images will appear in the EasyStitch window.
Select the images you would like to stitch together: Click Selection to Select ALL, or NONE. You can also click individual images for stitching.
4. Select Start Stitching.
5. Wait for the magic. My 18 scans required approximately 3 minutes to render the reassembled image.
6. Success! Open your image, rename, crop, edit, and enjoy!
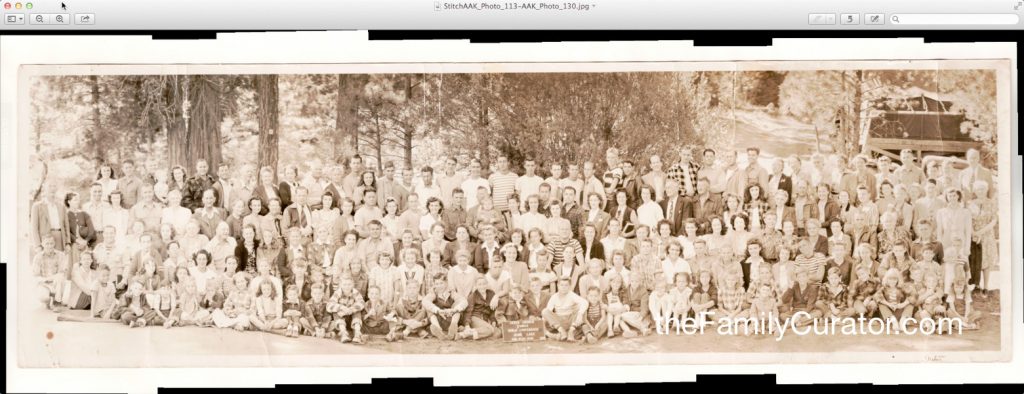
Tip: Remember you are working with JPG files which are lossy images. Preserve a Master Copy that can replace the digital image if it becomes corrupted or damaged from repeated editing and saving. Rename this copy something like: Camp Photo MASTER and place it in a separate MASTER Copy folder wherever you store your photos. You won’t gain any information by saving as a TIFF.
I used my photo editing software to restore the image to it’s original black-and-white. The contrast added a 1940’s vintage look that I like. With the photo scanned and reassembled it’s easier to zoom in and look at details. There’s some funny stuff going on.
For more information about digitizing all kinds of family photos, documents, and keepsakes, check out my books How to Archive Family Photos and How to Archive Family Keepsakes, available in paperback and ebook.
Use the Flip-Pal Mobile Scanner to digitize snapshots, papers, and oversize photos. Available from Flip-Pal.com and Amazon.
Learn More
Archiving JPG Scans and Photos from Your Flip-Pal Mobile Scanner, Digital Camera, and Mobile Phone
This Holiday Season, Use your Flip-Pal Like an Archivist
If you like this article, please share!
Disclosure: I purchased my own Flip-Pal Mobile Scanner in 2011, and am under no obligation to the Flip-Pal company to favorably review their products. I like the Flip-Pal and receive a small commission if you purchase through links on my site.
